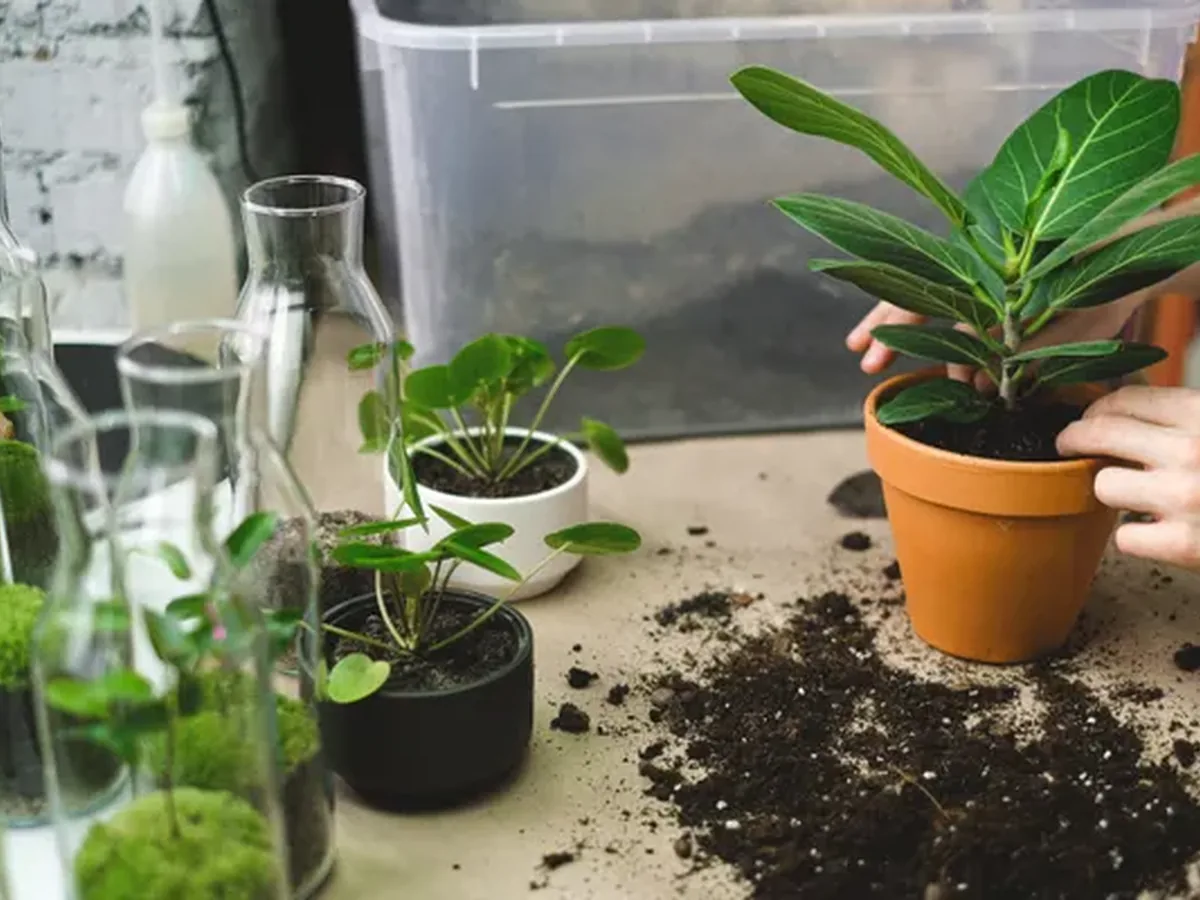
Repotting has a reputation for being stressful — for the plant and for the person doing it. In practice, most indoor plants tolerate repotting well, provided it is done at the right time, into a suitable pot, and without unnecessary disturbance to the roots. The stress usually comes not from the move itself, but from repotting too often, into a pot far too large, or at a moment when the plant is already struggling.
This guide explains when repotting is genuinely needed, when it is better to leave the plant alone, and how to carry out the move step by step so the plant settles quickly.
When Does a Plant Actually Need Repotting?
Many plants are repotted far more often than necessary. A plant that is growing well, draining normally, and producing new leaves does not need a new pot simply because a year has passed. Look for clear signs instead:
- Roots growing thickly through the drainage holes, or circling densely around the inside of the pot.
- Water running straight through the pot without wetting the soil, because the root ball is so dense there is little soil left to hold moisture.
- Growth slowing despite good light, watering, and feeding, with no other obvious cause.
- The plant becoming top-heavy and tipping over, or the pot cracking under root pressure — common with vigorous plants like snake plants.
- Soil that has broken down into a dense, compacted mass that stays wet for a long time after watering.
For most houseplants, repotting every one to three years is typical, with fast growers at the shorter end and slow growers, such as snake plants, at the longer end. If you are unsure, gently slide the plant from its pot in spring and look at the root ball: if roots fill most of the pot and circle the edges, it is time; if there is still plenty of soil visible, it can wait.
When to Leave It Alone
Do not repot a plant that has just arrived home — give it a few weeks to acclimatise first. Do not repot a plant that is already stressed by overwatering, pests, or a recent move, unless the pot itself is the problem, such as a total lack of drainage or severely rotted soil. And do not repot in the depths of winter, when most plants are growing slowly and recover more slowly; spring, at the start of active growth, is the kindest time.
Sometimes refreshing the top layer is enough. For a large plant that is difficult to repot, scraping away the top few centimetres of old soil and replacing it with fresh mix each spring — topdressing — gives a nutrient boost without disturbing the roots.
Choosing the Right Pot and Soil
Choose a pot only one size larger than the current one — roughly 2–5 centimetres wider in diameter. A pot far too large holds a large volume of wet soil that a small root system cannot use quickly, which raises the risk of root rot. This is one of the most common repotting mistakes, and it undoes the benefit of fresh soil entirely.
The new pot must have drainage holes. If you want to use a decorative pot without holes, keep the plant in a nursery pot with holes inside it, and empty any water that collects after watering.
Soil should suit the plant. Most tropical houseplants do well in indoor potting mix with added perlite for drainage. Succulents, cacti, and snake plants need a grittier mix that dries faster — a cactus mix, or indoor mix with extra perlite or coarse sand. Using garden soil indoors is not recommended; it compacts badly in pots and drains poorly. For species-specific guidance, see our snake plant care guide for a plant that prefers a drier mix, or our fiddle-leaf fig care guide for a plant that is particularly sensitive to repotting disturbance.
Step-by-Step Repotting
- Water lightly the day before. Slightly moist soil holds together better than bone-dry soil, which crumbles, or soaking soil, which is heavy and messy. Do not water heavily right before repotting.
- Prepare the new pot. Cover the drainage holes loosely with a piece of broken pot or mesh to keep soil in while letting water out, then add a layer of fresh mix at the bottom.
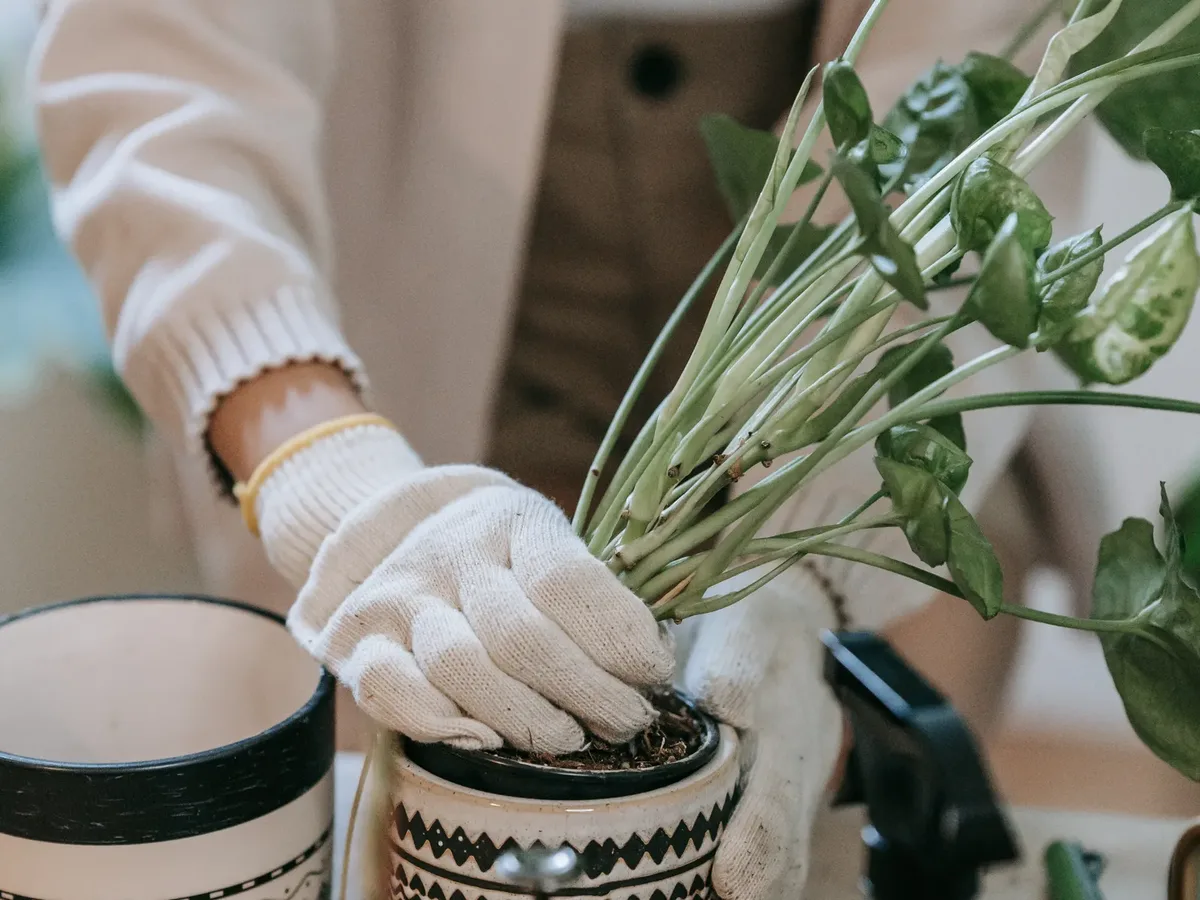
- Remove the plant gently. Tip the pot on its side and ease the plant out, supporting the base of the stems. If it sticks, squeeze a flexible pot gently or run a blunt knife around the inside edge. Avoid yanking the plant by its stems.
- Inspect the roots. Healthy roots are firm and pale or tan. Trim away any that are black, mushy, or smell bad, using clean scissors. If roots circle tightly around the ball, tease the outer few centimetres loose with your fingers so they can grow outward into the new soil.
- Position at the same depth. Place the plant in the new pot so the top of the root ball sits about 2 centimetres below the rim, leaving room for watering. Planting deeper than before can bury the stem and encourage rot.
- Fill and firm gently. Add fresh mix around the sides, tapping the pot to settle it and pressing lightly — not compacting it hard, which squeezes out the air spaces roots need.
- Water thoroughly, then wait. Water until it drains from the bottom, empty the saucer, and place the plant back in its usual spot. Do not fertilise for several weeks; fresh mix already contains nutrients, and fertiliser on disturbed roots can burn them.
Aftercare: Helping the Plant Settle
A repotted plant may look slightly subdued for a week or two, and a leaf or two may yellow and drop. That is a normal adjustment, not necessarily a sign of failure. Keep the plant in its usual light — do not move it into much brighter or darker conditions at the same time — and water according to soil moisture, as described in our guide to watering indoor plants without overwatering them. Fresh soil can hold moisture differently from old soil, so check with a finger test rather than assuming the old watering rhythm still applies.
Watch for new growth over the following weeks; it is the best sign that the plant has settled. If wilting persists for more than a week or two, check that the plant is not sitting in water, that the pot drains, and that the stem was not planted too deeply.
Avoid the temptation to repot again quickly if the plant looks unhappy. Repeated disturbance compounds stress. Give it at least a few weeks, and address light, water, and drainage first before considering another move.
Common Repotting Mistakes
- Jumping several pot sizes at once. Leads to persistently wet soil and root rot.
- Removing all the old soil and washing the roots bare. This damages fine root hairs. Shake off loose mix, but leave the core root ball largely intact unless rot requires more thorough cleaning.
- Planting too deep. Burying the stem encourages rot, especially in plants like snake plants and fiddle-leaf figs.
- Fertilising immediately. Fresh mix feeds the plant for weeks. Wait until you see new growth before feeding again.
- Repotting a stressed plant unnecessarily. If the problem is watering or light, a new pot will not fix it and may add stress.
Frequently Asked Questions
What time of year is best for repotting?
Spring is generally best, when plants are entering active growth and can establish quickly. In the southern hemisphere, that means roughly September to November. Repotting in winter is possible if urgent, such as for rot, but recovery will be slower.
Should I water before or after repotting?
Both, lightly. Water lightly the day before so the root ball holds together, then water thoroughly after repotting to settle the fresh mix around the roots. After that, return to checking soil moisture before each watering.
Can I reuse old potting soil?
Old mix that is still loose and free of pests or disease can be mixed into outdoor beds or compost, but for indoor repotting, fresh mix is preferable. Old mix may be compacted, depleted, or harbour pests, and fresh mix gives the plant the best start.
How do I know if the new pot is too big?
If there is more than about 5 centimetres of fresh soil around the root ball on each side, the pot is probably too large. Choose the next size up instead; the plant can always be repotted again later when it has filled the pot.
My plant looks worse after repotting. Is it dying?
Not necessarily. Some drooping or leaf loss in the first week or two is common transplant shock. Keep light and watering steady, avoid further disturbance, and look for new growth over the following weeks as the sign of recovery.
Conclusion
Repotting is a routine part of indoor plant care, not an emergency procedure. Wait for clear signs the plant needs more room, choose a pot only slightly larger with drainage holes, keep the root ball mostly intact, plant at the same depth, and give the plant steady light and careful watering while it settles. Done that way, repotting becomes a quiet boost — fresh soil, room to grow, and a plant ready for another season of healthy growth — rather than a source of stress for either of you.